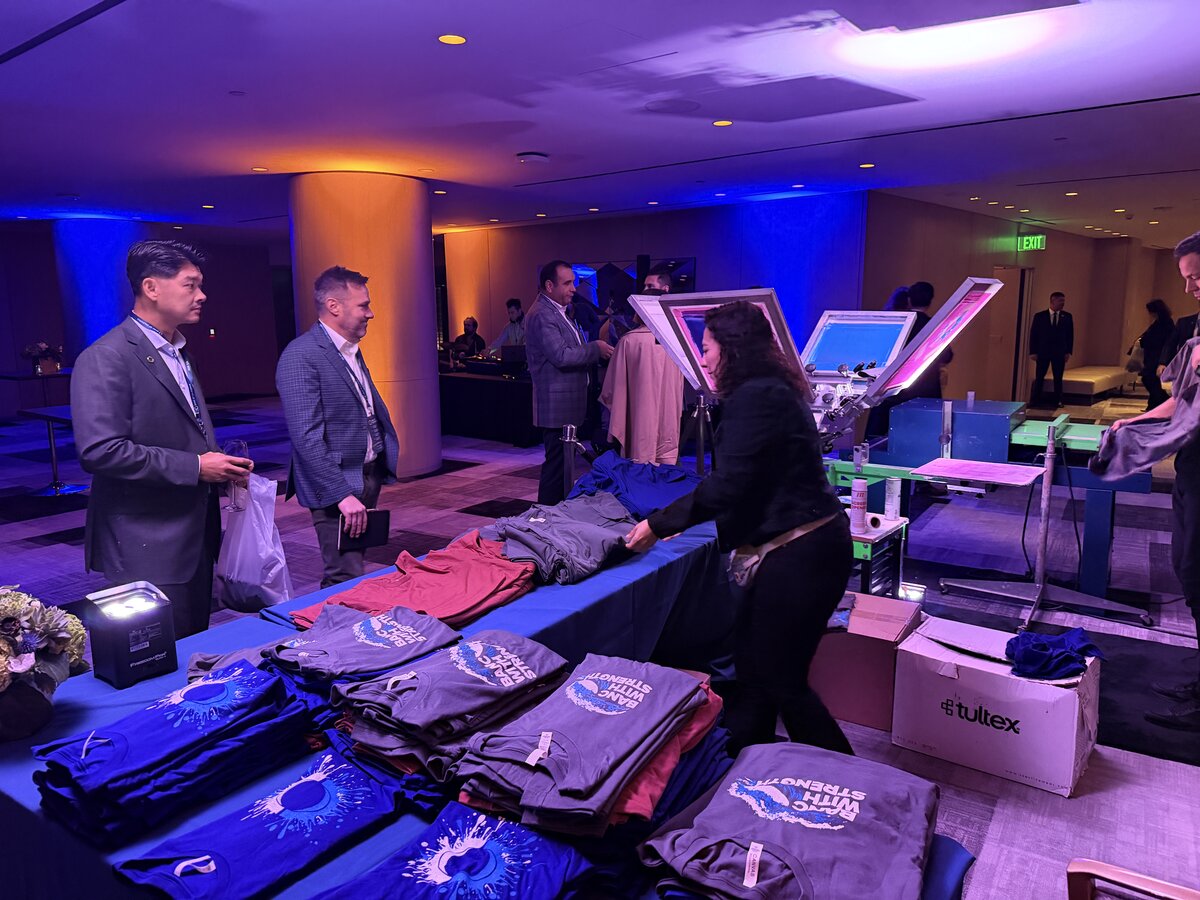
A great live heat pressing station looks effortless from the guest side — they pick a design, hand over a blank, and walk away with finished merch in a couple of minutes. Behind that simplicity is a station that was planned around the line, not the machine. This guide walks through every decision that makes an on-site heat press run smoothly, from footprint and guest flow to the product menu, artwork prep, staffing, and turnaround.
Merch Troop is a Southern California live-event merch company that runs heat press stations at corporate events, trade shows, brand activations, and conferences across Orange County, Los Angeles, San Diego, Las Vegas, and nationwide. We have set up in hotel ballrooms, convention booths, rooftop suites, and parking-lot pop-ups, and the same planning fundamentals carry across all of them.
Start with the guest path, not the equipment
The single biggest predictor of how a press station feels is the guest path. Before anyone talks about temperature or transfers, map the four moments every guest moves through: where they enter the line, where they choose a design and size, where the crew produces the item, and where they pick up the finished piece. When those four zones are separated, the line keeps moving and guests are never standing on top of the press.
A common mistake is collapsing selection and pickup into one table. Guests then crowd the operator, the queue stalls, and the energy that made the activation fun turns into a bottleneck. Give selection its own touchpoint — a menu board, a sizing rack, a host with a tablet — so the press operator can stay heads-down on production.
Size the footprint to the venue
One of the reasons heat pressing works so well at events is its compact footprint. A single press station fits where a full screen-printing line never would: a 10x10 booth, a lobby corner, a suite, or a sidewalk pop-up. That said, you still need to plan the real estate.
What a station actually needs
- A sturdy table that can take the weight and heat of a press platen.
- Reliable power — most presses draw a standard 120V circuit, but two stations on one breaker will trip it.
- A staging surface for pre-counted blanks, sorted by size.
- A finished-goods zone where pressed pieces cool flat before pickup.
- Clearance behind the station so the crew can restock without crossing the guest line.
If the venue is tight, plan for vertical storage and a single-file queue. If you have room, a two-station layout doubles throughput for high-traffic windows.
Build a tight product menu
It is tempting to offer everything — tees, hoodies, jerseys, totes, hats, and patches all press cleanly. But at a live event, a smaller menu is almost always the right call. Every additional product means more sizes to stage, more SKUs to track, and more decision time per guest. A focused menu of one or two garments plus an accessory keeps the line predictable.
Pick blanks that press well and actually get worn afterward. A soft retail-feel tee or a quality hoodie will leave the venue on someone's back; a stiff promo blank ends up in a drawer. Color matters too: DTF transfers carry bright gradients and sponsor logos cleanly on both light and dark garments, so you are not limited to white shirts.
Give artwork and names real lead time
The fastest way to slow a press station is to leave artwork to the last minute. Transfers should be gang-printed, trimmed, and sorted before load-in. If you are offering personalization — guest names, numbers, team designations — decide how those will be produced. Pre-cut name and number transfers, or a digital workflow that prints them on demand, both work, but they need to be specced ahead of time.
Personalization that holds up
- Names and numbers press best from pre-weeded vinyl or single-color DTF, applied as a second press after the main graphic.
- Keep a consistent baseline and font so every piece looks intentional, not improvised.
- Build a short, curated design menu rather than open-ended requests — it protects your turnaround.
Staff for the line, not just the press
A press station is a small assembly line, and it runs best with defined roles. At minimum you want a host managing selection and the queue, and an operator running the press. For busy windows, add a third crew member to stage blanks and align transfers so the operator never waits. Merch Troop staffs every activation with trained operators, and we size the crew to your expected guest count and event hours so the line keeps pace at peak.
Plan turnaround around peak, not average
Per-piece, a heat press cycle is quick — heat, dwell, peel, and hand off. But events do not arrive at an average rate; they surge after a keynote, at a happy hour, or when a giveaway is announced. Plan your throughput around those peaks. Pre-pressing base layers, staging the most popular sizes, and adding a second station for the busy hour all protect the guest experience when demand spikes.
Frequently asked questions
How far in advance should we plan a live heat pressing station?
Two to four weeks is comfortable for most events. That window lets us finalize the product menu, source and pre-stage blanks, prep and gang-print transfers, and confirm staffing. Rush timelines are possible, but lead time always improves the on-floor result.
How much space does a press station need?
A single station fits comfortably in a 10x10 booth or a similar footprint, including selection, production, and a cooling zone. If you expect heavy traffic, plan for a second station or a slightly larger layout to keep the line moving.
Can guests get their names or numbers added live?
Yes. Names, numbers, and other personalization are applied as a second press over the main graphic. We spec the fonts, baseline, and workflow ahead of time so every piece looks consistent and the line stays fast.